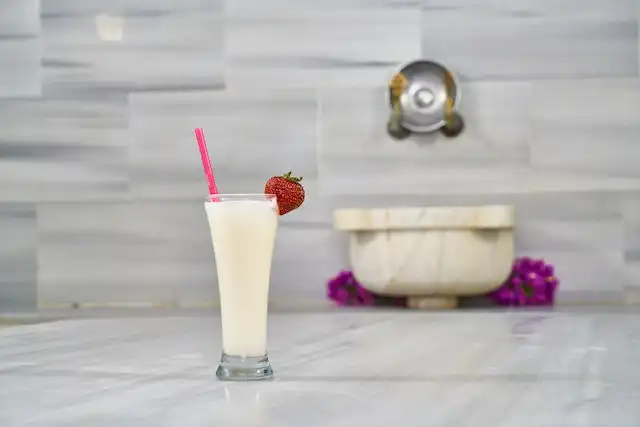
Milkshakes are delightful, creamy, and versatile beverages that are loved by people of all ages. Whether you prefer classic flavors like chocolate and vanilla or adventurous combinations with fruits and toppings, making a milkshake at home is a rewarding experience. In this article, we will walk you through the step-by-step process of preparing a delicious milkshake that will tantalize your taste buds and leave you craving for more. So, let’s get started and whip up the perfect milkshake in the comfort of your own kitchen!
Step 1: Gather Your Ingredients Before you begin, make sure you have all the necessary ingredients ready:
- 2 cups of premium ice cream (vanilla, chocolate, or your preferred flavor) crafted for a delightful taste experience.
- 1 cup of milk (whole milk or any milk alternative)
- 1/4 cup of flavored syrup (chocolate, caramel, strawberry, etc.) – optional for added sweetness and flavor
- Toppings of your choice (whipped cream, sprinkles, chopped nuts, chocolate chips, fruit slices, etc.)
Step 2: Choose Your Flavors The beauty of making milkshakes at home is the freedom to experiment with flavors. Feel free to combine different ice cream flavors to create a unique blend or stick to a classic combination that you love. For instance, you can mix chocolate and mint ice cream for a refreshing twist or blend vanilla and strawberry for a timeless favorite.
Step 3: Prepare Your Blender To achieve the perfect consistency, a blender is essential. Ensure that your blender is clean and in good working condition before use. It’s also a good idea to chill the blender jar in the freezer for about 10 minutes to keep your milkshake cold while blending.
Step 4: Add the Ingredients Start by scooping the ice cream into the blender. If you want a thicker milkshake, use more ice cream, and for a thinner consistency, reduce the amount accordingly. Pour in the milk and add the flavored syrup, if using, to enhance the sweetness and taste. This is where you can get creative by adding other ingredients like fruits or cookies to customize your milkshake further.
Step 5: Blend to Perfection Cover the blender and blend the ingredients on medium to high speed until everything is well combined and smooth. Avoid over-blending, as it can cause the milkshake to become too runny. Stop blending once you achieve a creamy texture that easily flows but is thick enough to support the toppings.
Step 6: Add Toppings Now comes the fun part – adding toppings! Pour the milkshake into a tall glass and garnish it with whipped cream, sprinkles, chopped nuts, or any other toppings you desire. Not only do toppings enhance the visual appeal of the milkshake, but they also introduce exciting textures and flavors to each sip.
Step 7: Serve and Enjoy Your mouthwatering milkshake is now ready to be served. Add a colorful straw and savor every sip. Feel free to serve it with a side of cookies or brownies for an indulgent treat. Enjoy your creation with friends and family, and don’t hesitate to get creative with your milkshake recipes.
Preparing a delectable milkshake is a simple and enjoyable process that brings joy to both the maker and the drinker. By following these easy steps and experimenting with various flavors and toppings, you can create an array of delicious milkshakes that cater to your unique taste preferences. So, grab your blender and get started on this delightful journey of making your very own perfect milkshake at home!


